Creating a Django Project and Deploying to Google App Engine 1
A step-by-step guide to creating a Django project and deploying it to Google App Engine.
- Table of Contents
Goal
We will create a Django project and deploy it to Google App Engine.
Development environment
- MacOS Mojave 10.14.6
- Python 3.7.4
- Django 3.0
- Google Cloud Platform SDK
This document is written for readers who are comfortable with the Django framework, the command line, and MySQL.
Process
I started using Google Cloud Platform at work to deploy applications. It is often compared to Amazon Elastic Beanstalk, but since I got started with GAE (Google App Engine) before ever using Elastic Beanstalk, I found it quite comfortable once I got used to it. The ability to easily deploy scalable web apps is a major advantage.
Installing the Google Cloud Platform SDK
Detailed instructions are available in the official Google Cloud documentation. Download the SDK from the website, extract the archive, and run the install.sh script inside it.

./google-cloud-sdk/install.sh
Restart your shell to apply the changes. Depending on which shell you use, run either source ~/.zshrc or source ~/.bashrc.
gcloud auth login
You can now log in to the Google Cloud SDK. Running this command opens a browser window where you enter your login credentials.
Setting Up a Google Cloud Platform Project
This tutorial uses Google App Engine for fast setup and deployment.
Before creating an App Engine instance, you need to create a Project. In GCP, all applications are managed at the project level.
Create a project as shown below.

gcloud config set project mysite
Then set the project you just created as your currently active project.
Django App Initialize
The basic Django application setup follows the official Django tutorial.
django-admin startproject mysite
Use the startproject command to create the mysite project.
Creating and Connecting a Database
CREATE DATABASE mysite CHARACTER SET utf8mb4 COLLATE utf8mb4_unicode_ci;
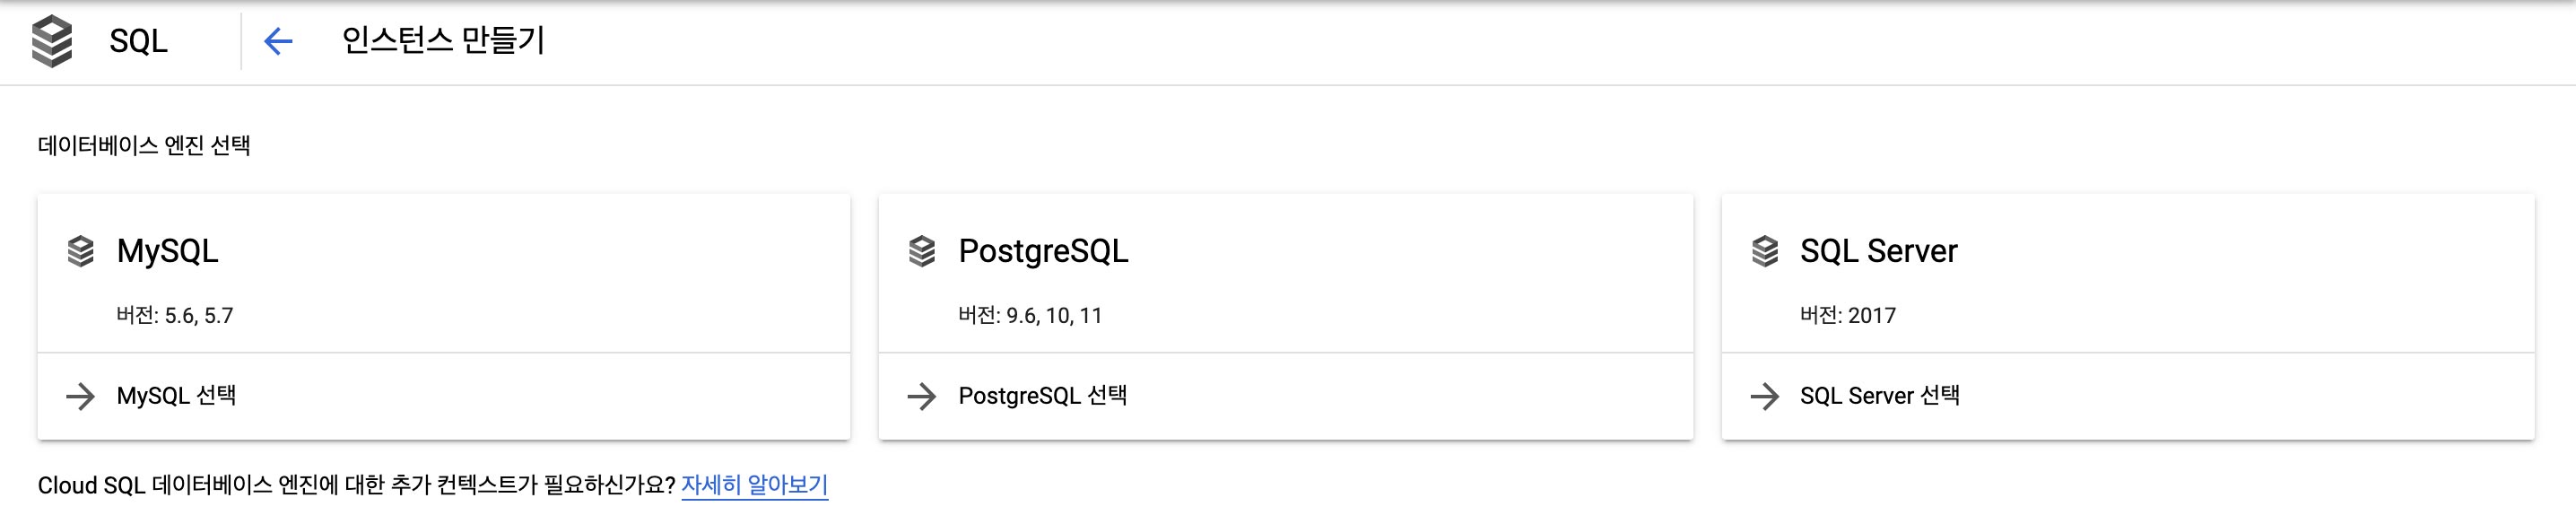
Create the database using the utf8mb4 character set, which supports emoji input. I personally prefer MySQL, so I used it here. As of March 2020, Google Cloud SQL supports MySQL, PostgreSQL, and SQL Server.
Open mysite/settings.py and configure it as follows.
if os.getenv('GAE_INSTANCE'):
    DATABASES = {
        'default': {
            'ENGINE': 'django.db.backends.mysql',
            'NAME': os.getenv('DB_NAME'),
            'HOST': os.getenv('DB_HOST'),
            'USER': os.getenv('DB_USER'),
            'PASSWORD': os.getenv('DB_PASSWORD'),
            # For MySQL, set 'PORT': '3306' instead of the following. Any Cloud
            # SQL Proxy instances running locally must also be set to tcp:3306.
            'PORT': os.getenv('DB_PORT'),
        }
    }
else:
    DATABASES = {
        'default': {
            'ENGINE': 'django.db.backends.mysql',
            'OPTIONS': {
                'read_default_file': os.path.join(BASE_DIR, 'prod.cnf'),
            },
        }
    }
prod.cnf
host = 000.000.000.000
database = mysite
user = root
password =
port = 3306
default-character-set = utf8mb4
Create prod.cnf in the project root. This file stores the connection settings for your local database.
Configuring app.yaml
When configuring the database earlier, we injected settings using os.getenv(). Where does that data come from? If you have read through the GAE tutorial, you already know: it comes from the app.yaml file. Let's write the app.yaml file, which is where nearly all deployment-related configuration for GAE lives.
runtime: python37
instance_class: F4
entrypoint: gunicorn -b :$PORT main:app

beta_settings:
  cloud_sql_instances: mysite:asia-northeast2:mysite

handlers:
  # This configures Google App Engine to serve the files in the app's static
  # directory.
  - url: /static
    static_dir: mysite/static/

  # This handler routes all requests not caught above to your main app. It is
  # required when static routes are defined, but can be omitted (along with
  # the entire handlers section) when there are no static files defined.
  - url: /.*
    script: auto

env_variables:
  DB_PROD: 'TRUE'
  DB_HOST: '/cloudsql/mysite:asia-northeast2:mysite'
  DB_PORT: '3306'
  DB_NAME: 'mysite'
  DB_USER: 'root'
  DB_PASSWORD: 'password'
Configuration for Google App Engine
from mysite.wsgi import application

app = application
Looking at the entrypoint field in app.yaml, it is set to main:app. This means it will run the app object from main.py. The application in the wsgi.py that Django generates by default represents the project we just created.
Deploying
gcloud app deploy
Remarkably, this single command is all you need. It automatically reads the app.yaml configuration. If you want to deploy to multiple environments, you can append a filename like dev.yaml to deploy using that specific configuration instead.